


The Basic Aid Climbing Sequence
The Basic Aid Climbing Sequence
There are four ways to set this up.
· On top rope
· On top rope trailing a second line as a “mock lead rope”
· Solo fixed rope self-belay
· Leading
Do whatever is most conducive to getting in a lot of laps.
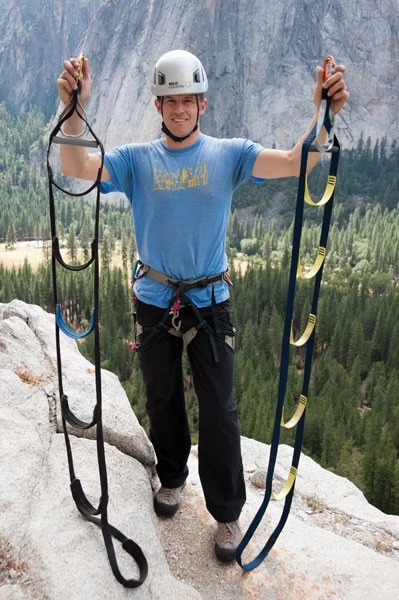
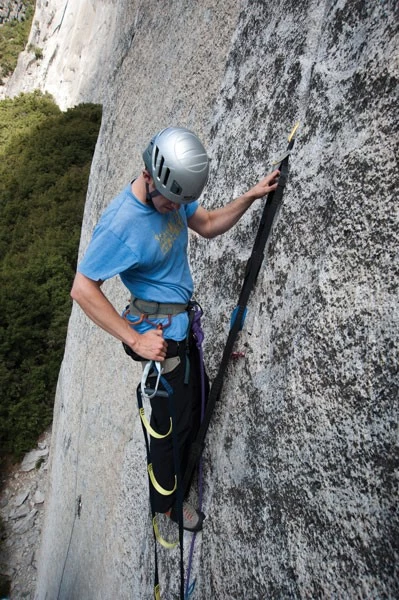
1. Start with just two aiders and no daisy chains.
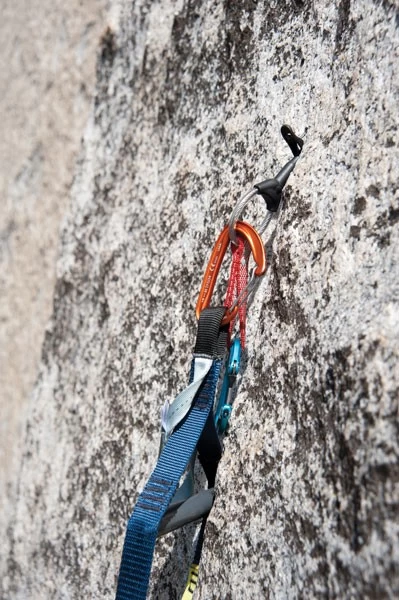
2. Clip aider directly to piece. (Never clip the biner attached to the piece because this shortens your reach to the next piece. If using etrier-style aiders, make sure the aider is oriented right(if stepping with your left foot, the step is left of center).
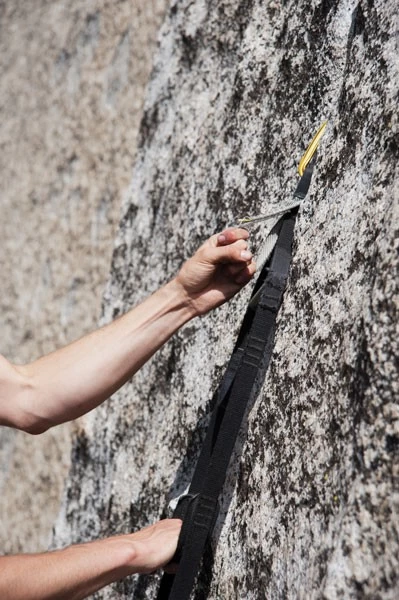
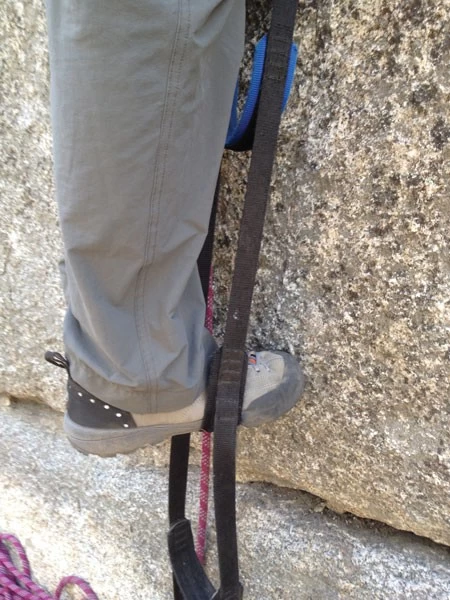
3. Without stopping, step all the way until your waist is at the piece (or higher if you can).
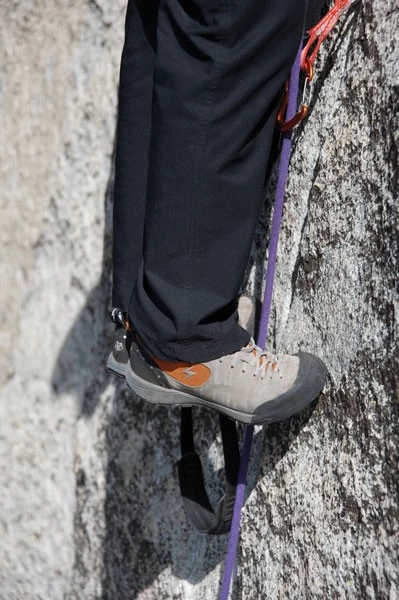
Tip It's more comfortable to put yours heels together and smear the foot that is not in theaiders on the wall.
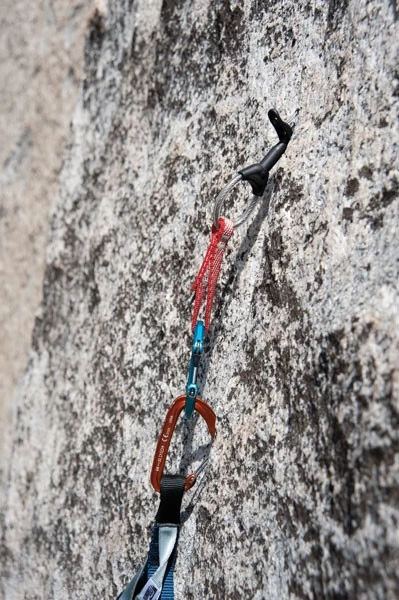
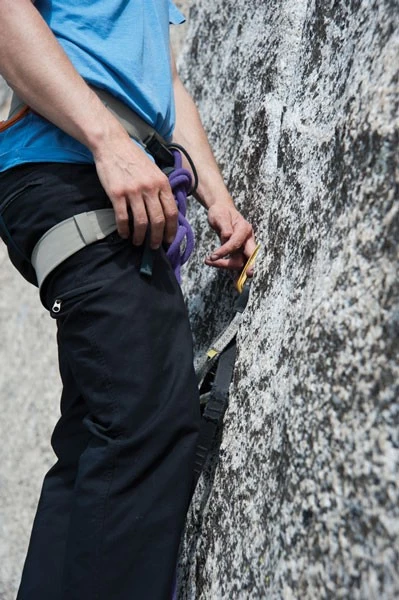
4. Take your other aider and clip the next piece. Make sure the aiders are not overlapping and the steps are not twisted.
5. Step into the next aider at the highest step that is comfortable (usually this is a step or two up from the bottom).
6. Unclip your bottom aider and clip it to the side of you harness. Always clip the aider to the same spot so it forms a habit and you always know where to go for it.
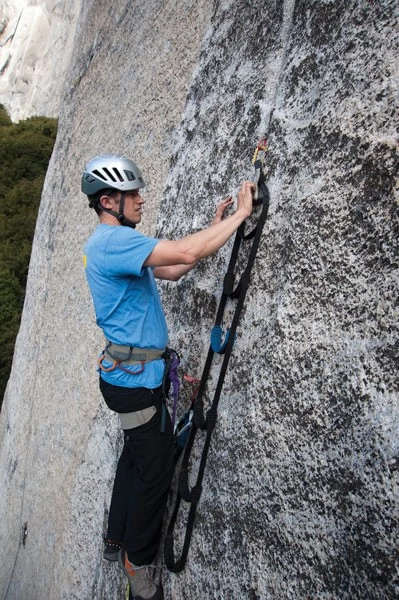
7. Clip the rope to the piece (skip this step if you are top roping without a mock lead rope).
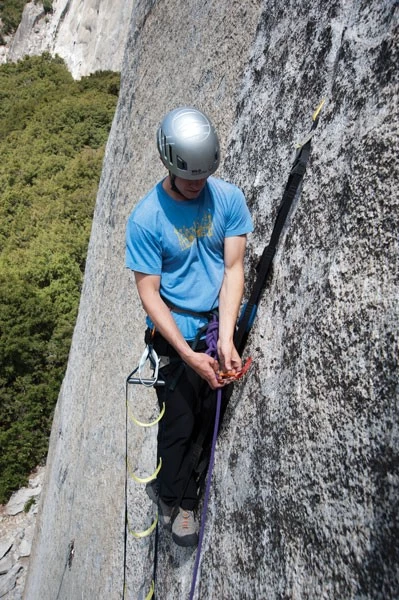
8. Walk up the aider all the way until your waist is at the biner. If you can balance, then go even higher in the aider. In general, you want to walk as high as efficiently possible.
9. Repeat.
Helpful tips
Really get your foot in the aider. Standing on your toes in the aider will burn your calves. On low angle terrain it's hard your foot all the way into the step. It helps to turn your foot sideways as you put it in the aider . . . then flatten it out.